Want to keep your vegetable garden hydrated without the hassle? Discover the simple steps to create your own automatic drip irrigation system using a programmable timer. With this easy-to-follow guide, you’ll have a DIY watering solution that keeps your garden flourishing with minimal effort.
Automatic Drip Watering System for Outdoor Gardens
It’s almost gardening season which means I’m busy planning out this year’s garden design and browsing the internet for alllll the gardening hacks.
You too?
Well you’re in luck because today’s post is one of my favorite hacks when it comes to making gardening easier. Because gardening doesn’t have to be complicated, or difficult. Plants only need a few things: food, water, and sun.
When those needs are satisfied, a garden will thrive and grow plenty of fresh healthy fruits, vegetables or flowers.
So let’s dive into one of the most asked questions people have when it comes to gardening: How do I automatically water my garden?
Benefits of Drip Irrigation
There are a few different types of watering systems and I’ve found drip-line irrigation is the most effective way to water raised bed gardens. Plus, drip irrigation is an excellent choice for any garden because it’s easy to set up, and inexpensive.
Drip irrigation uses less water than other watering systems because it is extremely efficient. Drip irrigation systems supply water directly to a plant and its roots in the soil immediately below. Water is delivered exactly where it’s needed, and not wasted in the unused soil between plants (as is the case with sprinkling systems). A drip irrigation system supplies water slowly so the soil is able to absorb essentially all of the water; as a result, very little water is lost to evaporation.
Bonus: Weeds will be less likely to sprout up between plants because the unused soil is not being watered.
Benefits of Automatic Watering
Watering a garden by hand can be a pain, and it takes up precious time. You can easily water too little, too much, or forget entirely. Furthermore, watering by hand requires your presence, which can get in the way of those summer vacation plans!
This is where an automatic watering system comes in handy.
An automatic drip irrigation system will keep watering your garden, right on schedule, even when you aren’t around.
The biggest benefit of using a programmable timer to automate your watering schedule is the time savings; automatic watering will save you time every day!
A drip irrigation system controlled by an automatic timer is the perfect combination, and provides all the benefits of both.
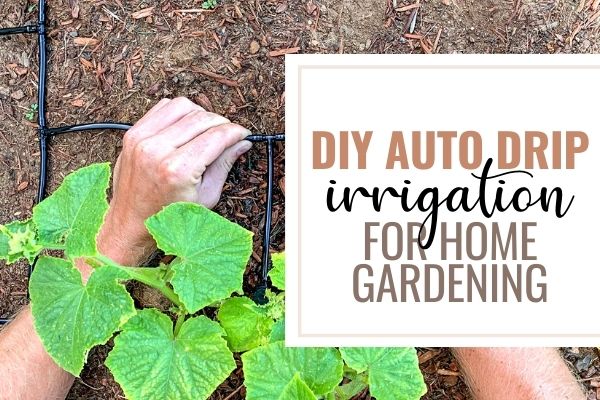
How Do You Make An Automatic Drip Irrigation System At Home?
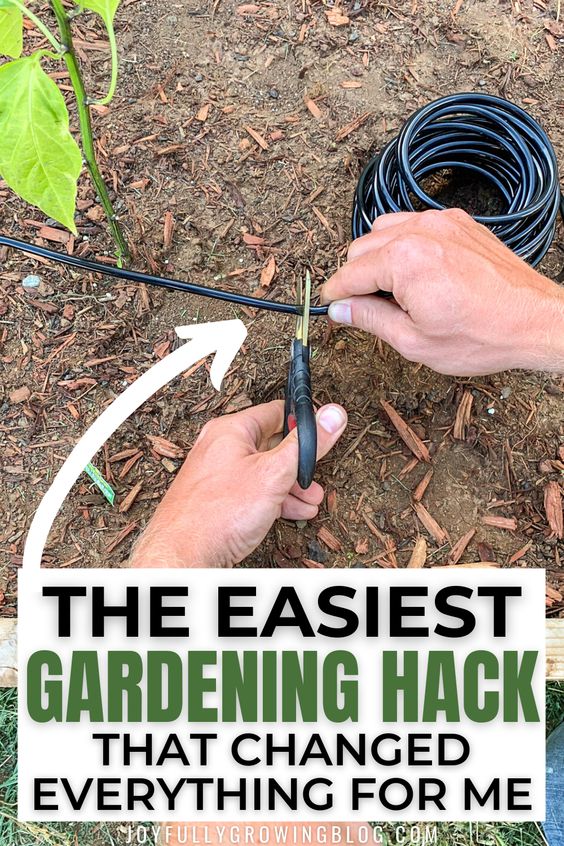
Setting up an automatic drip watering system outdoors is an easy DIY project, and it’s budget friendly! The project is affordable and can be completed in under an hour.
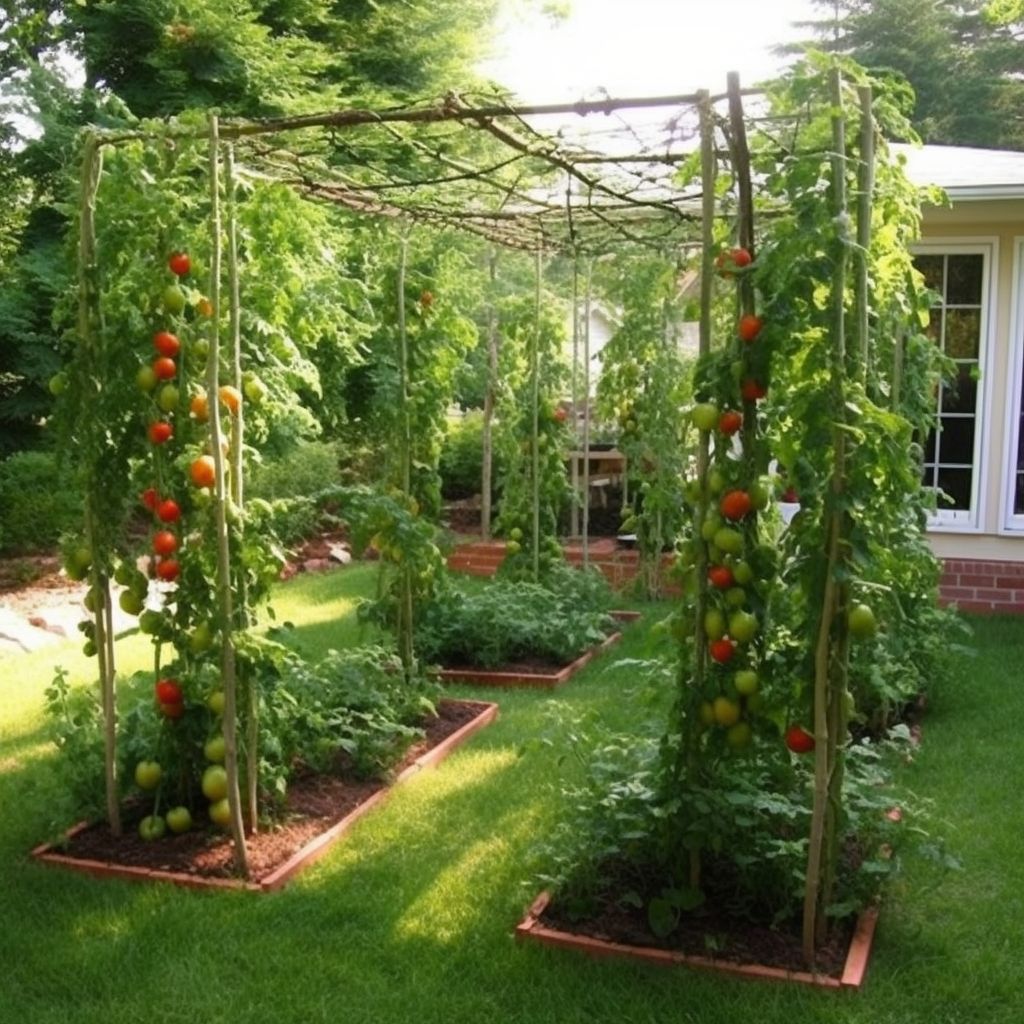
Before you can get to work on designing and installing a drip irrigation system for your home garden, you’ll first need to have a garden bed.
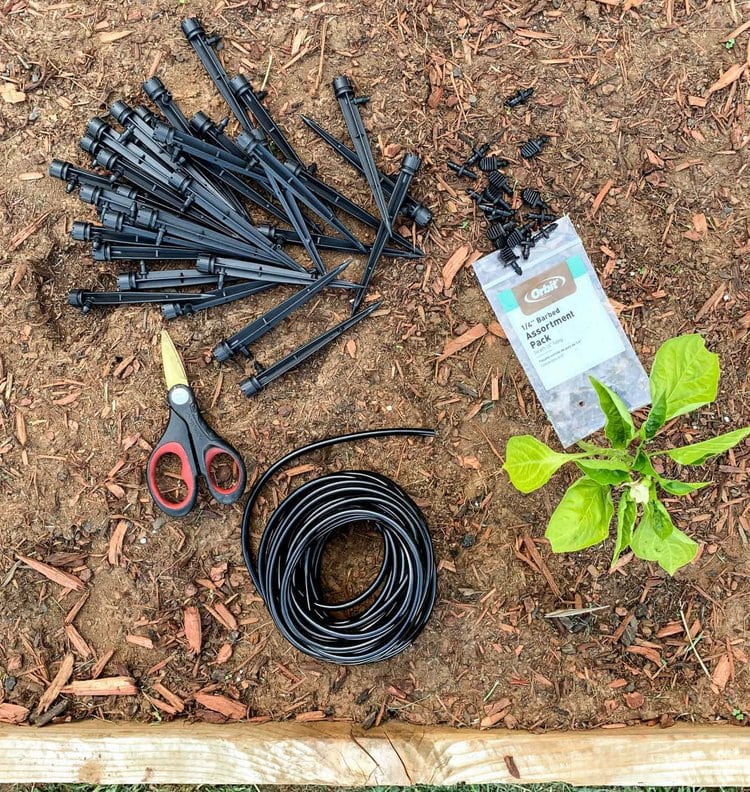
Supplies to Make a Homemade Automatic Drip Irrigation:
- Programmable Automatic Watering Timer
- 1/4″ Drip Tubing (50FT)
- Hose Adapter
- Assorted 1/4″ Barbed Fittings
- Drip Emitters (50)
- Tubing Holder Stakes
Additional Supplies For Larger Systems:
Step 1: Planning & Designing A Drip Watering System for Your Vegetable Garden
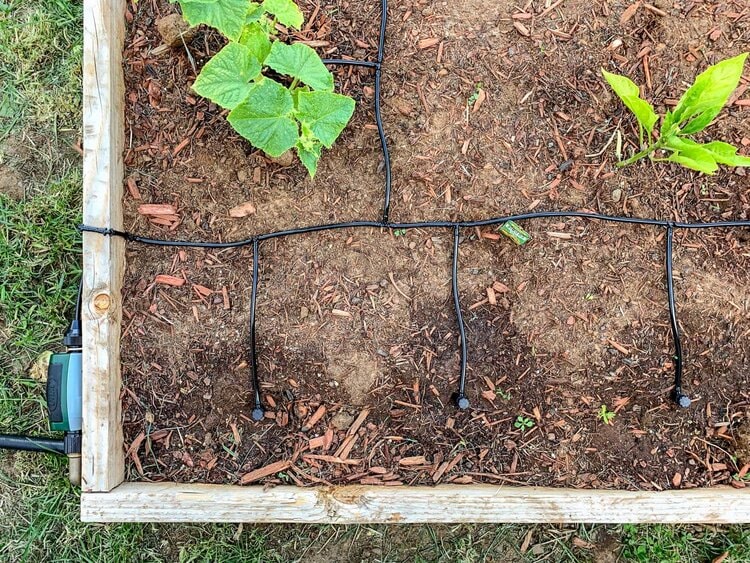
Drip irrigation systems use low-flow drip emitters to deliver water to the plants in a garden. Think of drip emitters as mini sprinklers.
Drip emitters have a very small coverage area and must be placed within a few inches a plant. One emitter is needed for each plant.
The number of emitters needed to build a complete drip watering system in a raised garden bed will vary depending on the number of plants, and how large they are.
For example: a large zucchini plant will sprawl out, and can take up nearly half of a raised garden bed. However, small plants can often fit into 12” squares. A garden with only small plants could require as many as 32 drip emitters in a 4ft x 8ft raised garden bed.
I recommend using a notepad and pencil to sketch out a plan for the unique design of your garden.
Try to make your design look like a tree, with one main distribution line that runs the length of the garden (representing the tree trunk) and ‘branches’ that come off the trunk. Each branch should lead to a drip emitter. See the image below for an example.
Make sure to keep all the drip tubing lines straight and parallel with the sides of the raised garden bed. This will keep everything looking neat and tidy.
FAQ: How do I determine the correct drip tubing size & flow rates?
A single 1/4″ tubing line will usually supply water to a maximum of 10 drip emitters. Using the correct supply line size is important because an undersized supply line will results in uneven watering (there will not be enough water pressure for the drip emitters at the end of the system).
The maximum flow rate for 1/4″ drip tubing is 30 GPH (gallons per hour) with a maximum of 30 FT of tubing. The drip emitters used in this tutorial have an adjustable flow rate. They can be set between zero and 10 GPM by tightening or loosing the screw-on emitter cap.
At their max flow setting (10 GPM), a 1/4″ drip hose can only supply 3 emitters. However, if you adjust the flow rate down to 3 GPM (or less) the same 1/4″ hose can supply 10 drip emitters, or more.